
Intro
Many EV Charging organizations are currently using AWS for their data management solution, and thus this is where site and charging data is stored. In this guide, we'll show how you can easily share this data securely with Rewatt via API. Specifically we'll cover how to do a basic implementation of the Rewatt EV Charging API (now EnergSync) using AWS API Gateway and Lambda functions. We'll use an API key for security. Connecting to your AWS database (eg. DynamoDB) is left as an exercise for the reader.
Overview
You'll need an Amazon AWS account. Once signed in, we will perform the following actions:
- Create a new API using the API Gateway service
- Import the EV Charging API spec
- Create 3 Lambda functions in nodejs
- Configure the functions to be triggered via the API
- Test the endpoints using curl
Create the API
- Navigate to your API Gateway service
- Click Create API
- Click Import on the REST API panel
- Choose Import from Swagger or Open API 3
- Download version 1.0.7 of the Open API 3 file from Rewatt
- Click Select Swagger File and import the json file you just downloaded
- AWS does not support the array syntax for query parameters, so you can change it in the supplied text editor
- on line 27, change
chargerIds[]tochargerIds - click Import and Ignore Warnings
- on line 27, change
- Congratulations - the API is now imported, you should have something like this:
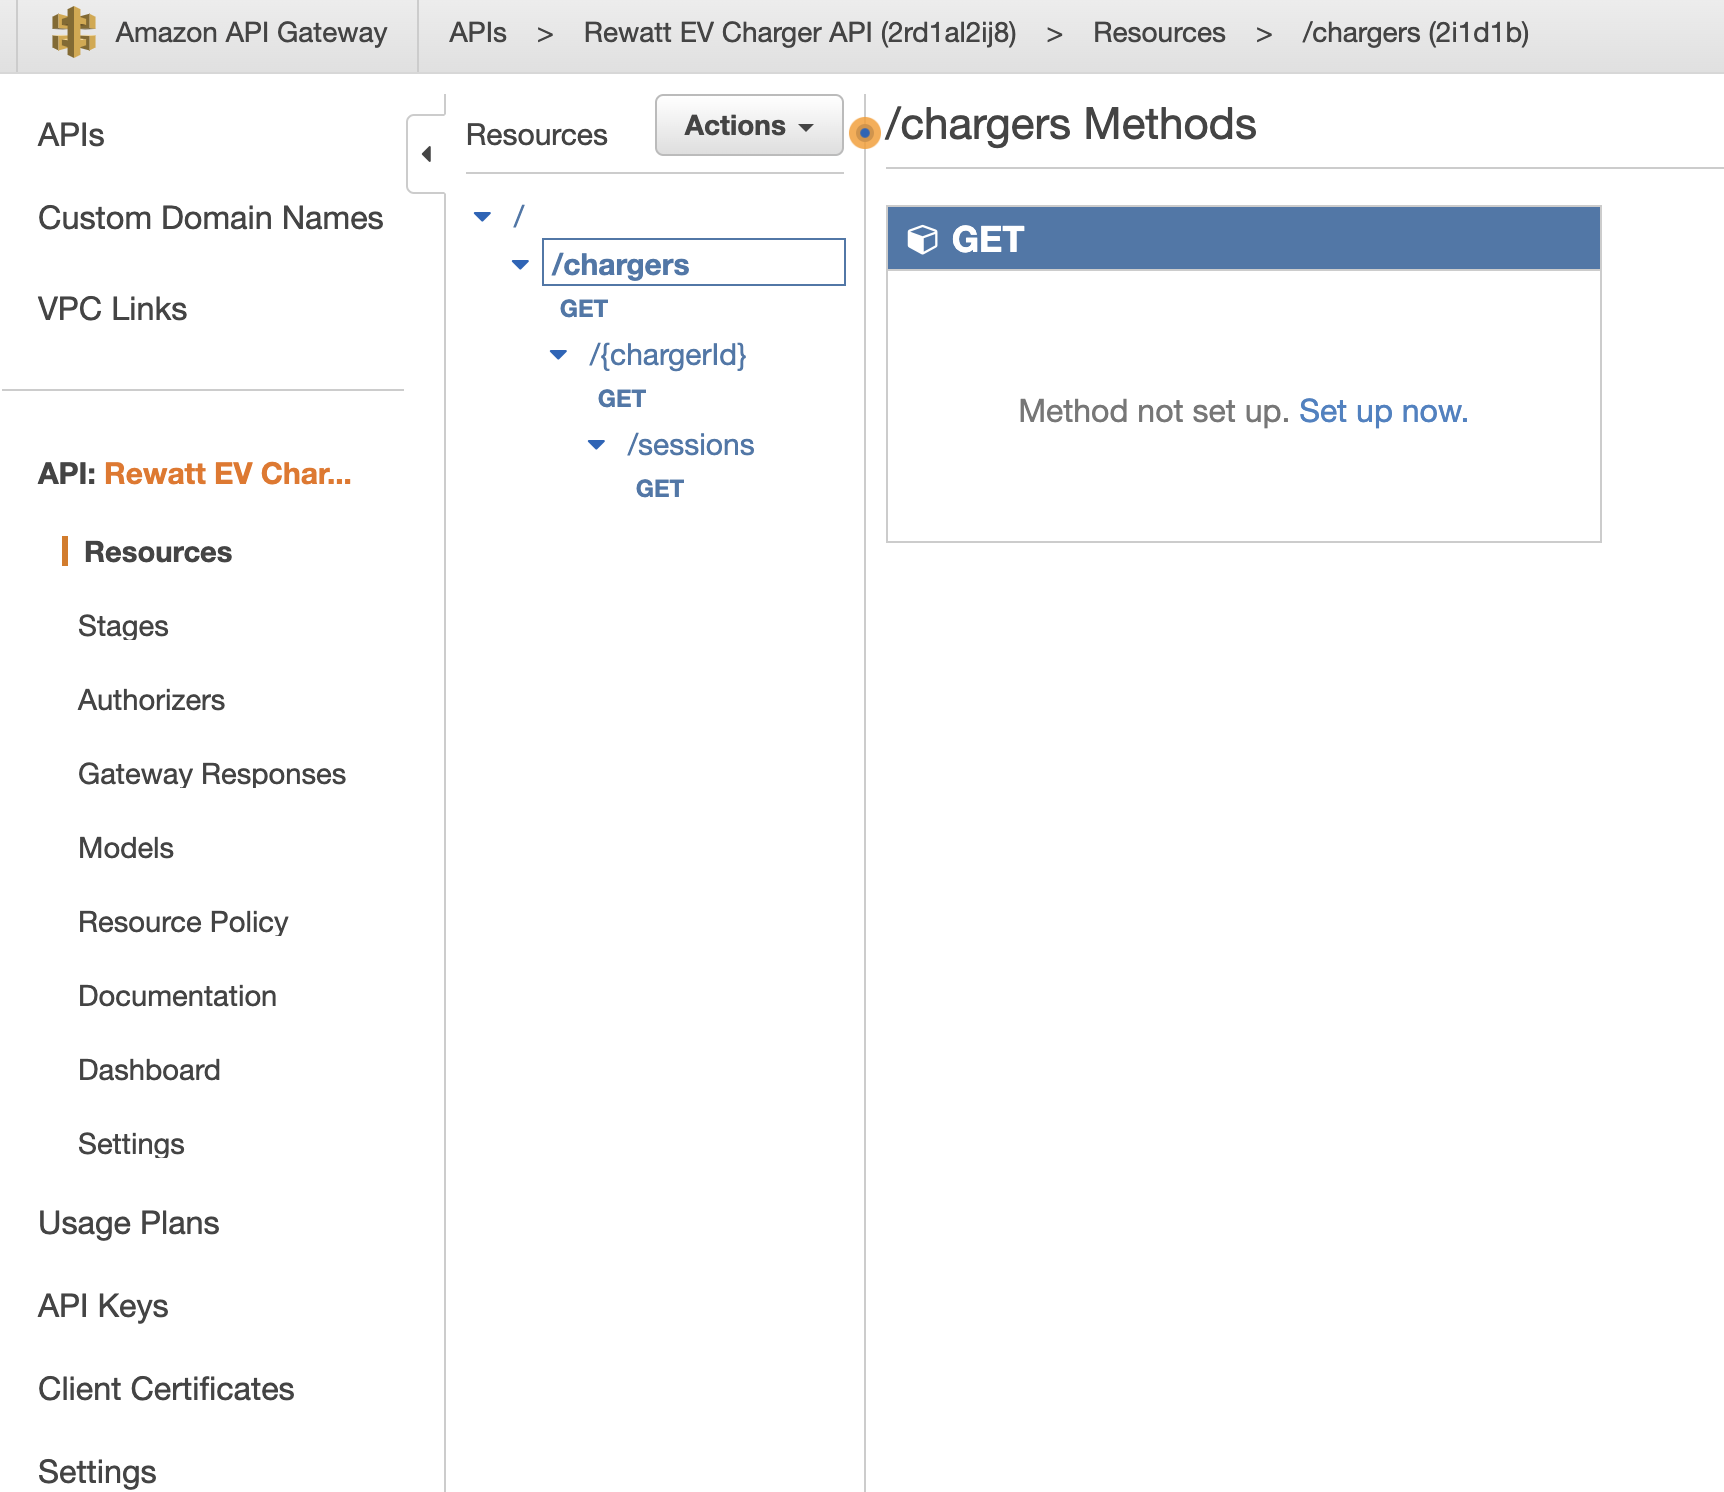
- next is to configure and hook up the API to some implementations
Implement the API
We are going to create a simple static implementation which only returns success and ignores query parameters. In reality, you would want to query your database and return some mapped results, handling errors along the way as per the spec.
- Navigate to Services -> Lambda
- Click Create Function
- Author a nodejs 18 function from scratch, and call it
getChargers - The default architecture and permissions are fine (unless you know what you are doing)
- Click Create Function
- Paste this impl into the code editor, and Deploy
// getChargers
const handler = async (event, context) => ([{
    "id": "123",
    "name": "Charger 123",
    "serialNumber": "123",
    "model": "Pulsar Plus",
    "maxAvailableCurrent": 40,
}, {
    "id": "791",
    "name": "Charger 791",
    "serialNumber": "791",
    "model": "Aprisa",
    "maxAvailableCurrent": 40,
}]);

export { handler };
Do this for two more functions:
// getCharger
export const handler = async (event, context) => ({
    "id": "123",
    "name": "Charger 123",
    "serialNumber": "123",
    "model": "Pulsar Plus",
    "maxAvailableCurrent": 40,
    "timeZone": "America/Edmonton",
    "latitude": 51,
    "longitude": -117,
    "commissioningDate": "2021-04-12"
});
// getSessions
export const handler = async (event, context) => ([{
"id": "345",
"chargerId": "123",
"energy": 420000,
"startTime": "2017-07-21T17:32:28Z",
"endTime": "2017-08-06T17:32:28Z",
"chargingDuration": 423
}]);You should now have 3 deployed lambda functions, like this:

Triggers
Now we need to hook the API up to the functions. Go back to your API Gateway and click on your API. Click on /chargers -> GET in the tree and attach the getChargers lambda function.
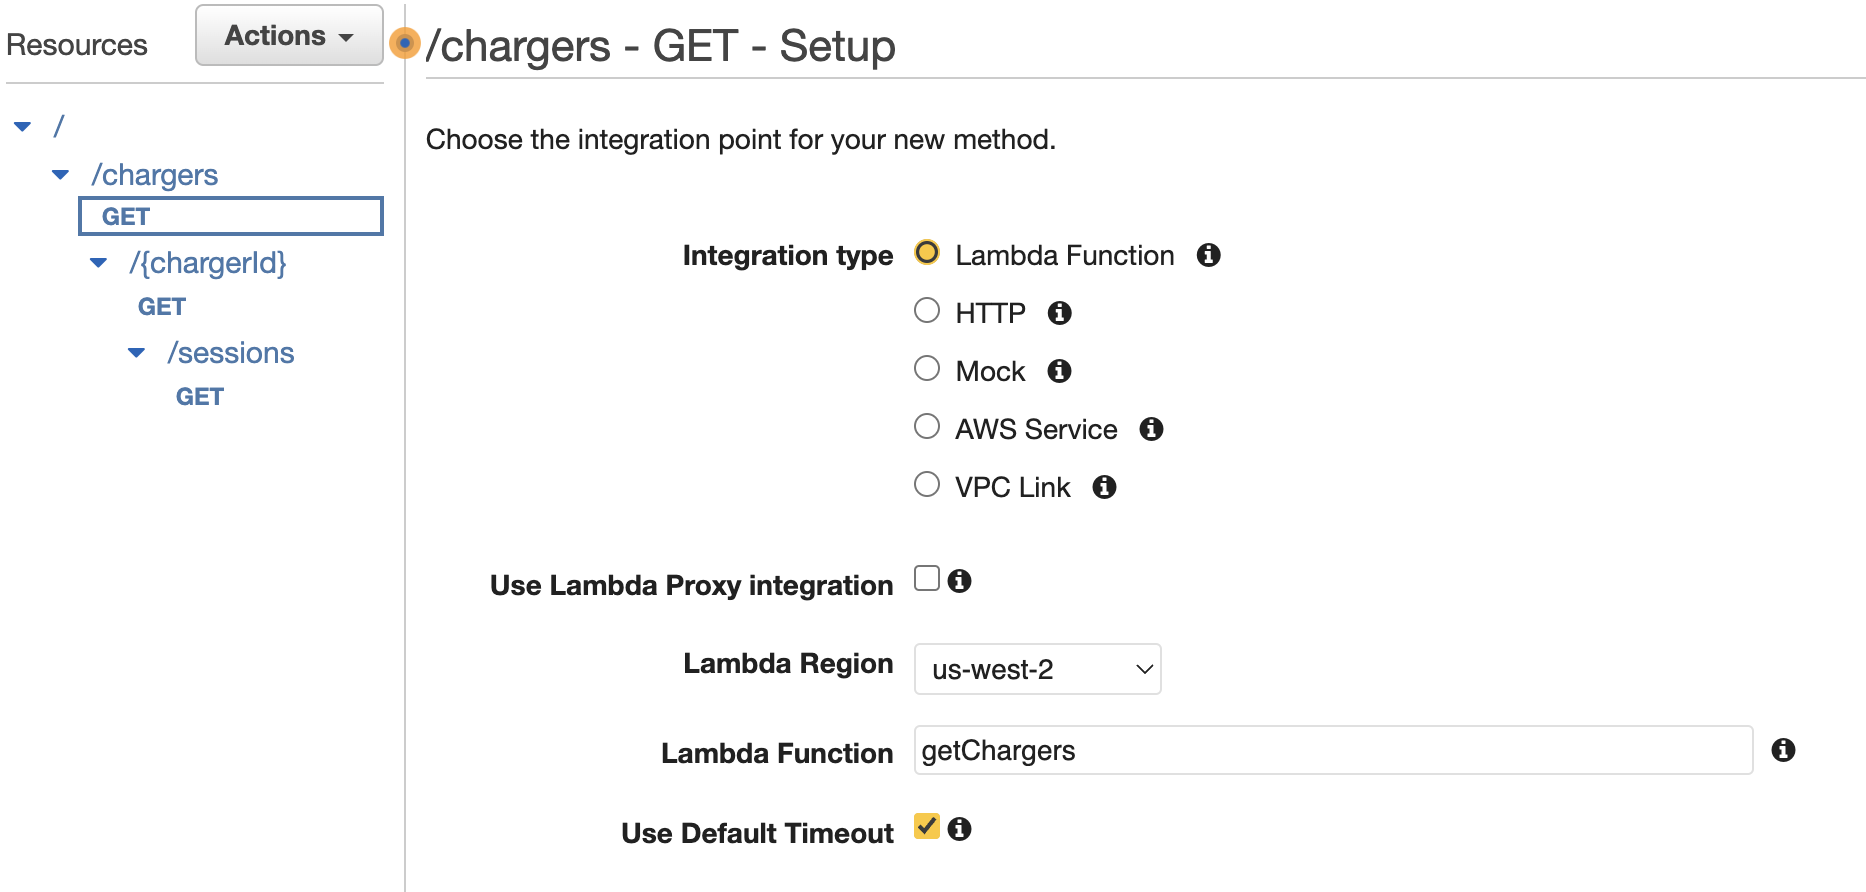
Click Save. Repeat this for the GET methods of /chargers/{chargerId} (getCharger) and /chargers/{chargerId}/sessions (getSessions), saving each time.
You can click on Test in the diagram to make sure each endpoint is working (internally).
API Key
The final step is to add some security to our API. For that, we will use an API key, as per the spec. You could also tie this to IAM users using an Authorizer if you wanted more fine-grained control.
- Navigate to API Gateway -> Resources
- On each of the 3 GET methods, click on Method Request
- Change API Key Required to true (don't forget to click the checkmark to accept the changes)
- Click on Actions -> Deploy to make our API live
- create a new stage and call it
default(this could be test/staging/production)
- create a new stage and call it
- Next, go create the API key, under API Gateway -> API Keys
API Control
To really use your API, you need to add a Usage Plan. This will allow you to throttle requests, add quotas, and more, to keep costs to a minimum.
- Navigate to API Gateway -> Usage Plans
- Create a new Usage Plan
- turn off throttling and quota for now
- can call it EV Charging API Usage Plan
- in the Next step, Add API Stage -> add the default stage created above during deploy
- in the Next step, Add the API Key created above and click Done
- Your API Keys page should look something like this:

Test
Woot! Now you're ready to test. Navigate to API Gateway -> Stages -> default and copy the invocation URL. Also copy your API key. You can run a curl like this to test your API:
curl -i -H "x-api-key: DmcpF2kRmF4xAqivKUdOB8YZl6UidCdI8ABolAXE" https://un5m373ml5.execute-api.us-west-2.amazonaws.com/default/chargersYou should see a 200 response.
HTTP/2 200
date: Thu, 08 Jun 2023 20:31:32 GMT
content-type: application/json
content-length: 152
x-amzn-requestid: 50b72d14-8a4f-427b-b9d4-da05b2301399
x-amz-apigw-id: GN4ZnGZMvHcFvDQ=
x-amzn-trace-id: Root=1-64823aa3-255fbaa10ca3e7996b46fcec;Sampled=0;lineage=5fbd49b1:0

{"status":"200","statusDescription":"OK","body":[{"id":"123","name":"Charger 123","serialNumber":"123","model":"Pulsar Plus","maxAvailableCurrent":40}]}
Try the other 2 endpoints:
curl -i -H "x-api-key: DmcpF2kRmF4xAqivKUdOB8YZl6UidCdI8ABolAXE" https://un5m373ml5.execute-api.us-west-2.amazonaws.com/default/chargers/123curl -i -H "x-api-key: DmcpF2kRmF4xAqivKUdOB8YZl6UidCdI8ABolAXE" https://un5m373ml5.execute-api.us-west-2.amazonaws.com/default/chargers/123/sessionsFurther Considerations
Now that you have a secure, controlled API up and running, you can explore the myriad features AWS offers. You may want to add a custom domain, or add some quotas, or add a testing and production stage. Of course, you will want to connect these endpoints to your own data store, add some error handling, and handle path/query parameters. Or maybe you have an existing userbase and would like to allow them to use their existing credentials to access these endpoints, and restrict what chargers they can see based on their identity (ie in Cognito).
Final Thoughts
AWS has made it very easy to standup an API and connect it to your data. If you have implemented this API for your system, you can now add a device to Rewatt and specify your API, so that Rewatt can automatically collect your session data and compute EV credits on your behalf. Happy charging!